Setting Up Monitoring
A single scan gives you a snapshot. Monitoring turns that snapshot into a continuously updated picture of your external attack surface: the platform re-runs your project scope on a fixed schedule, adds what is new and notifies you by email. This guide shows where monitoring is configured, which interval to choose and how to verify that it is running.
Prerequisites
- A project with at least one search term in Scope.
- At least one completed scan, so you have a baseline to compare against.
- Access to Project settings for this project.
Step 1: Open the monitoring settings
Open your project and select the gear icon in the upper right of the project header. The Project settings view opens with the tabs General, Options, Monitoring and Access. Select Monitoring.
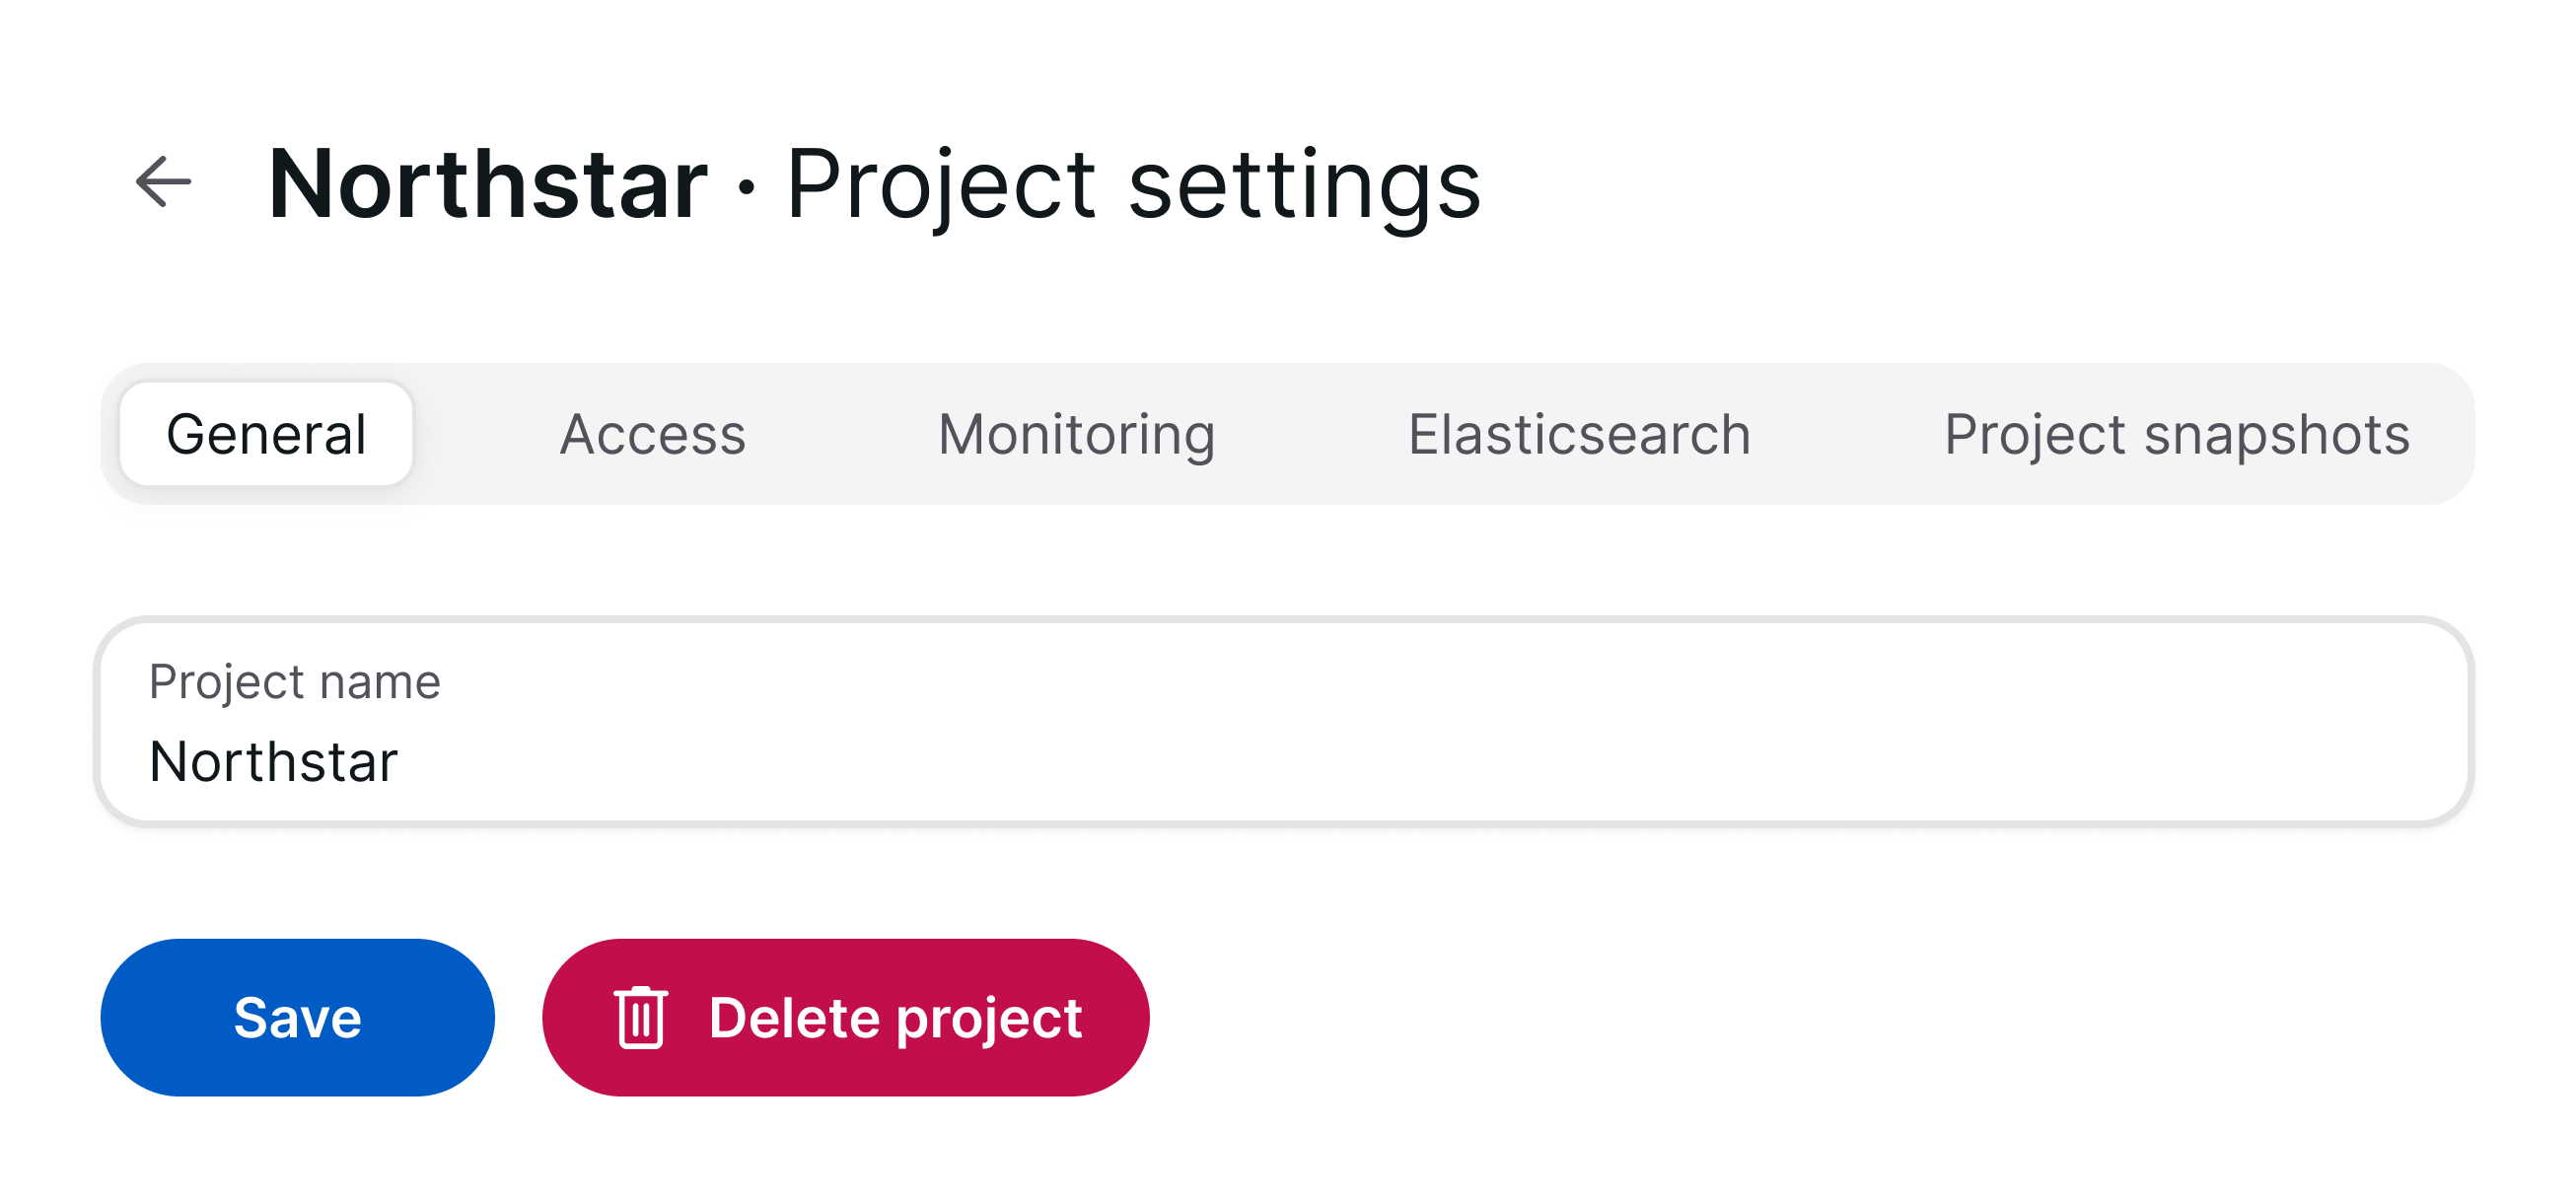 Figure 1: The monitoring configuration consists of an interval and a notification address.
Step 2: Choose an interval
Select one of the four options:
| Option | Interval | Use it for |
|---|---|---|
| Daily | every 24 h | Internet-facing production perimeters, active incidents, M&A or divestment phases |
| Weekly | every 168 h | The default for most corporate attack surfaces |
| Monthly | every 720 h | Stable, low-change scopes; subsidiaries and low-risk brands |
| Inactive | — | Monitoring switched off; the project keeps its existing data |
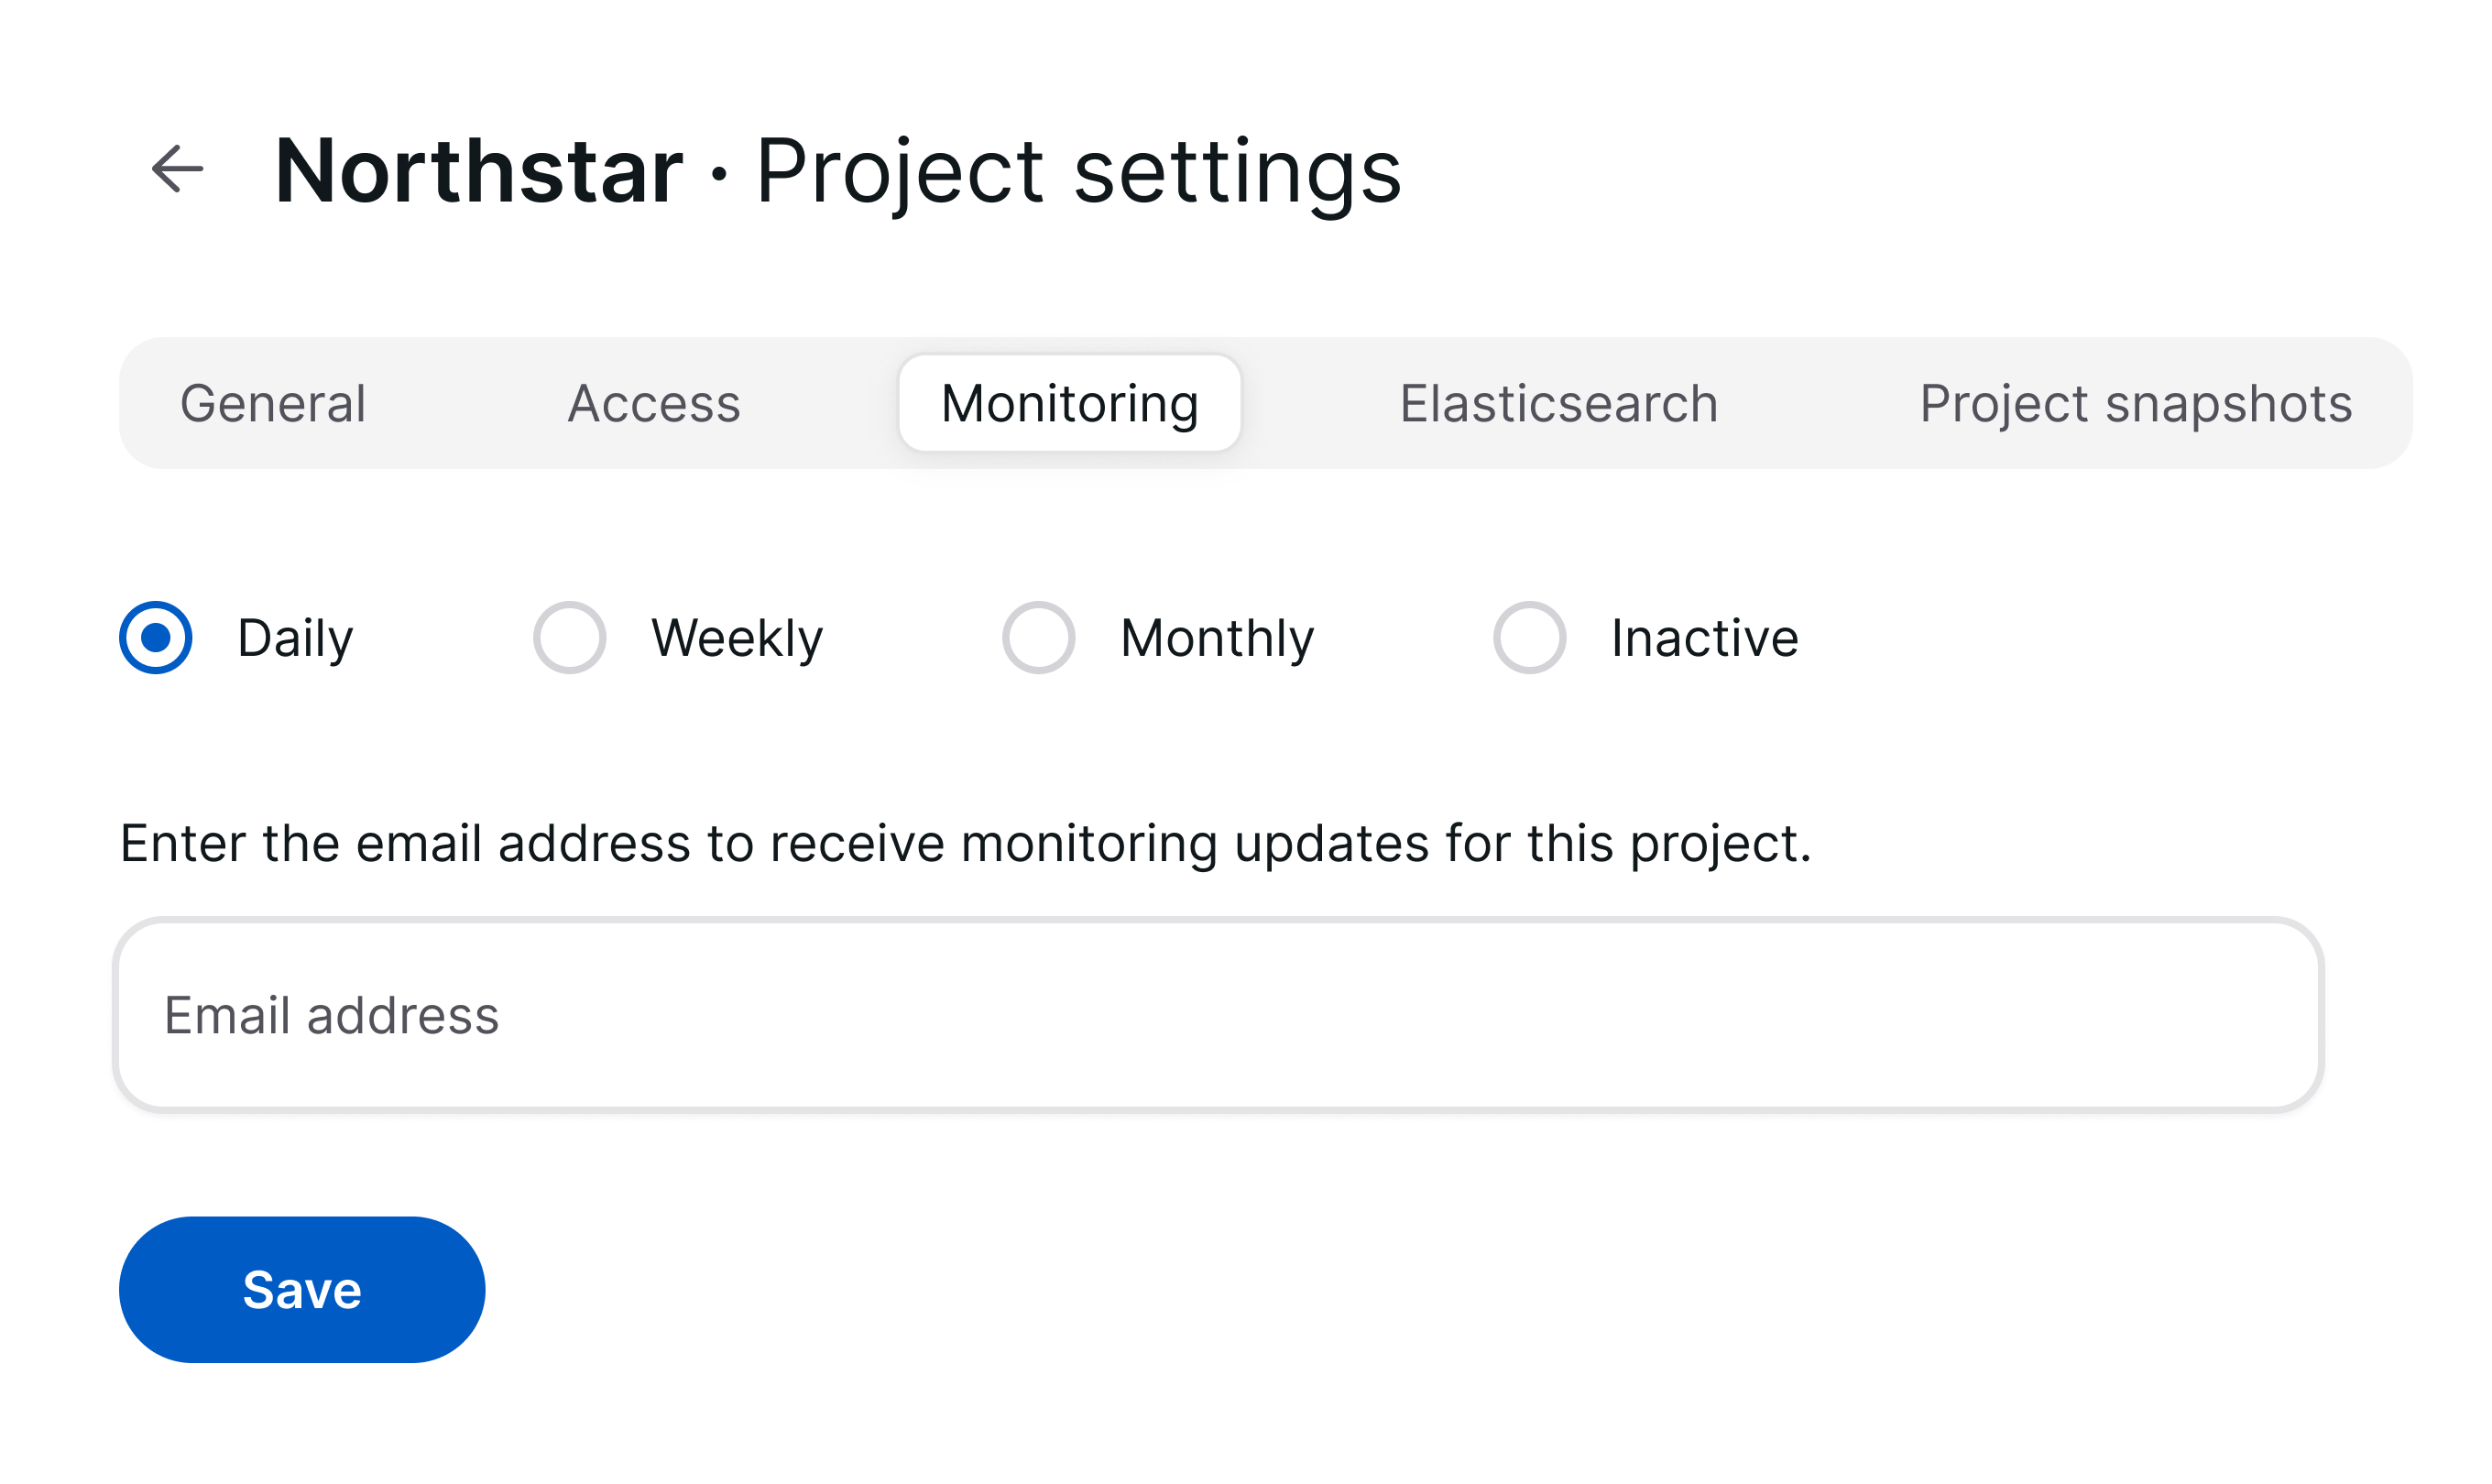 Figure 2: Weekly is the recommended starting point: frequent enough to catch new exposure, quiet enough to stay readable.
Match the interval to your change rate, not to your anxiety
Choose the interval you can actually act on. A daily report nobody reads is worse than a weekly report that lands in a triage queue. Start with Weekly and move to Daily only for scopes where you have a defined responder.
Step 3: Set the notification recipient
Enter the address that should receive the monitoring updates in the Email address field.
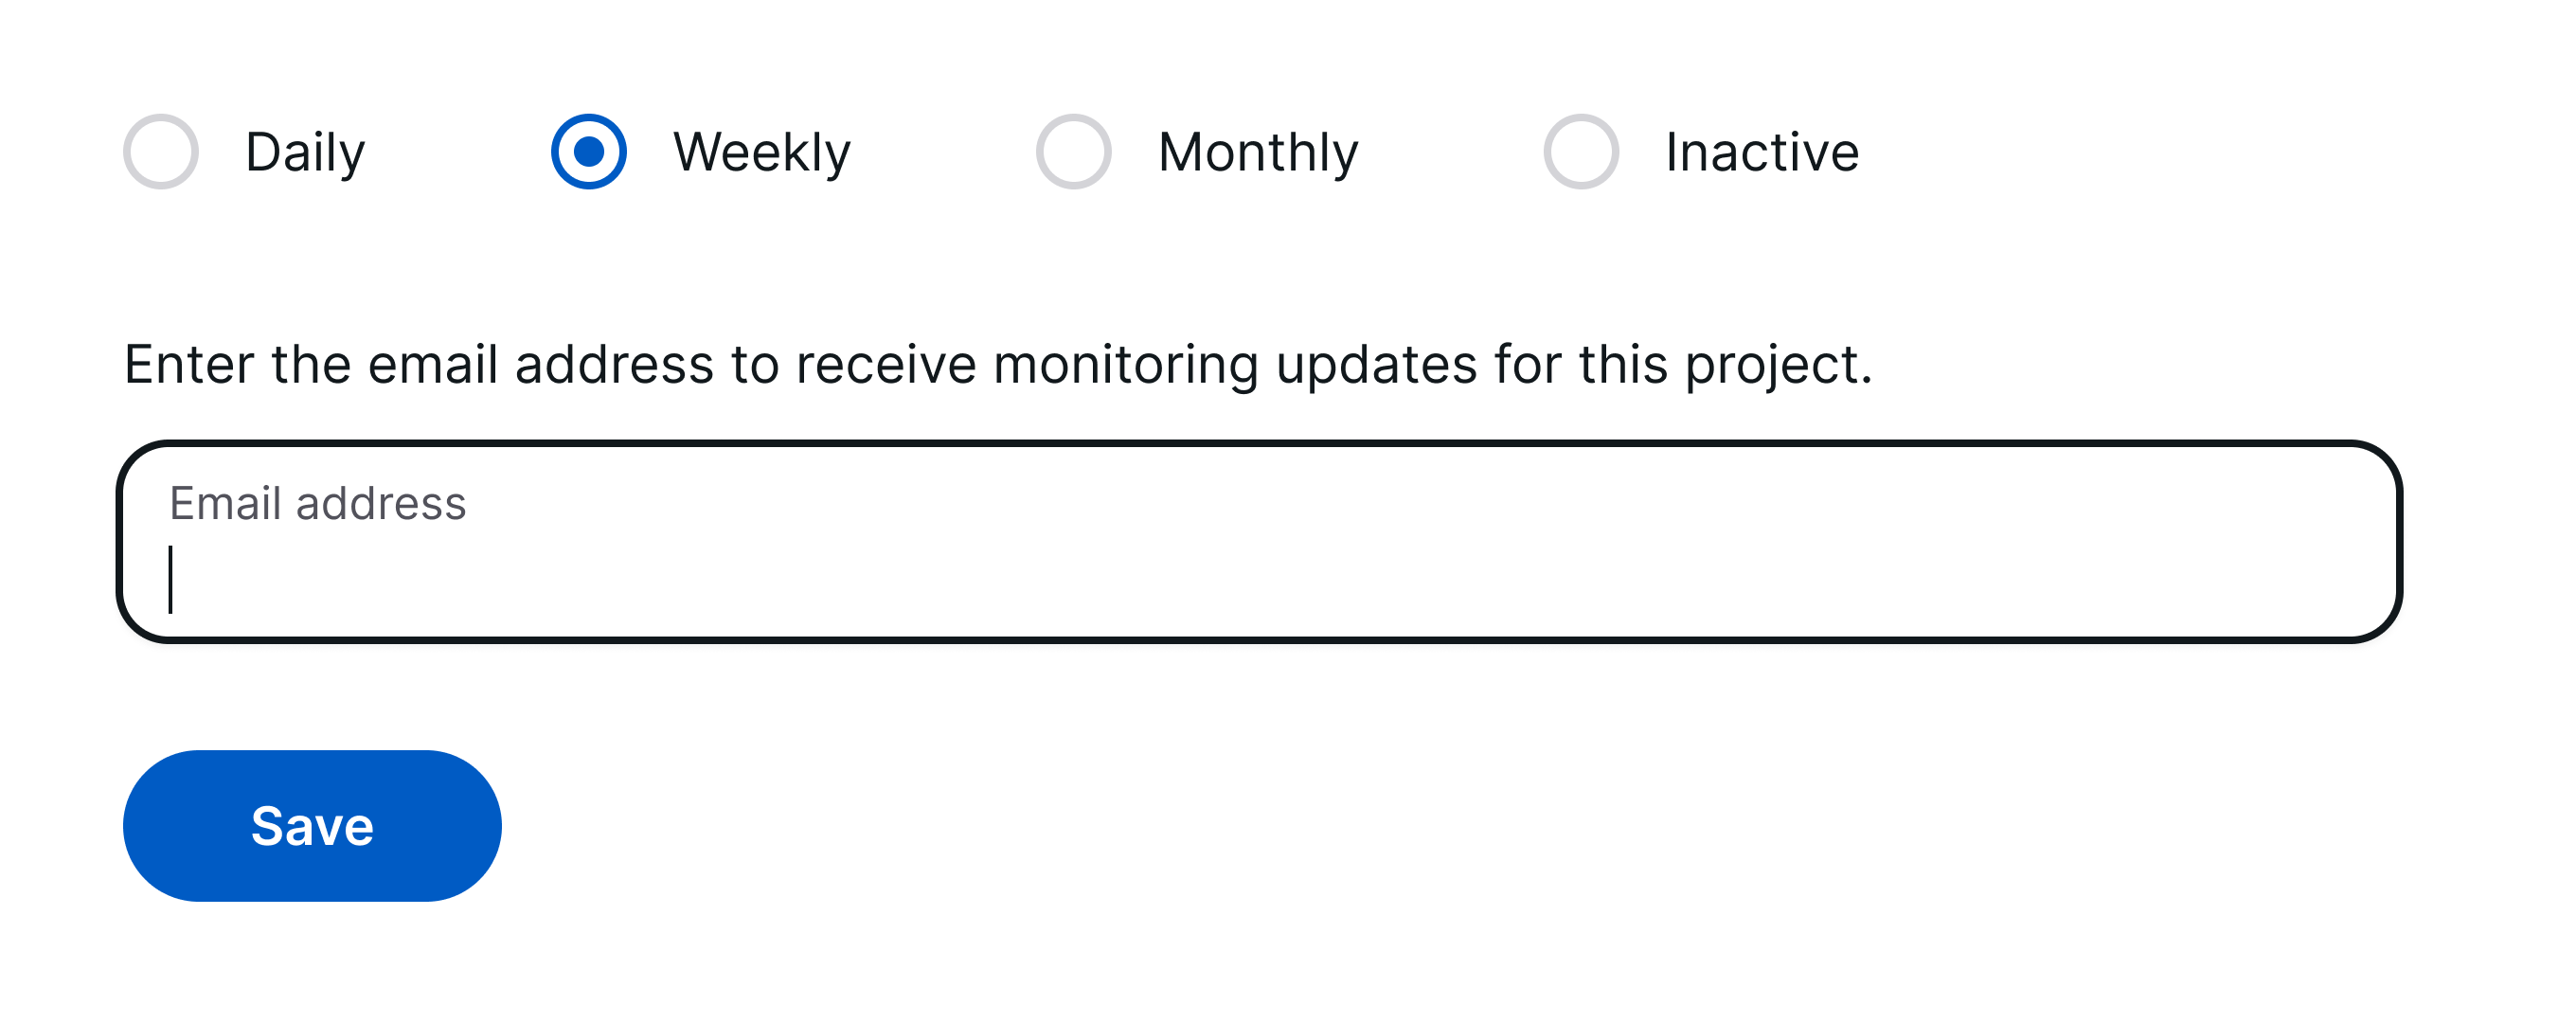 Figure 3: One recipient address is configured per project.
Use a distribution list, not a person
The field holds one address per project. In a B2B setup, point it at a
shared mailbox or ticket queue (for example soc@example.com or
security-asm@example.com) and manage the actual readers in your mail
system. Monitoring then survives holidays, role changes and offboarding.
Step 4: Save and verify
Select Save. Then go to Projects in the top navigation: the Monitoring column now shows Active for your project.
| Column | What it tells you |
|---|---|
| Monitoring | Active or Inactive per project |
| IPs / Services | Current size of the attack surface |
| Last updated | When the project data last changed |
| Search jobs | Whether a scan is currently running |
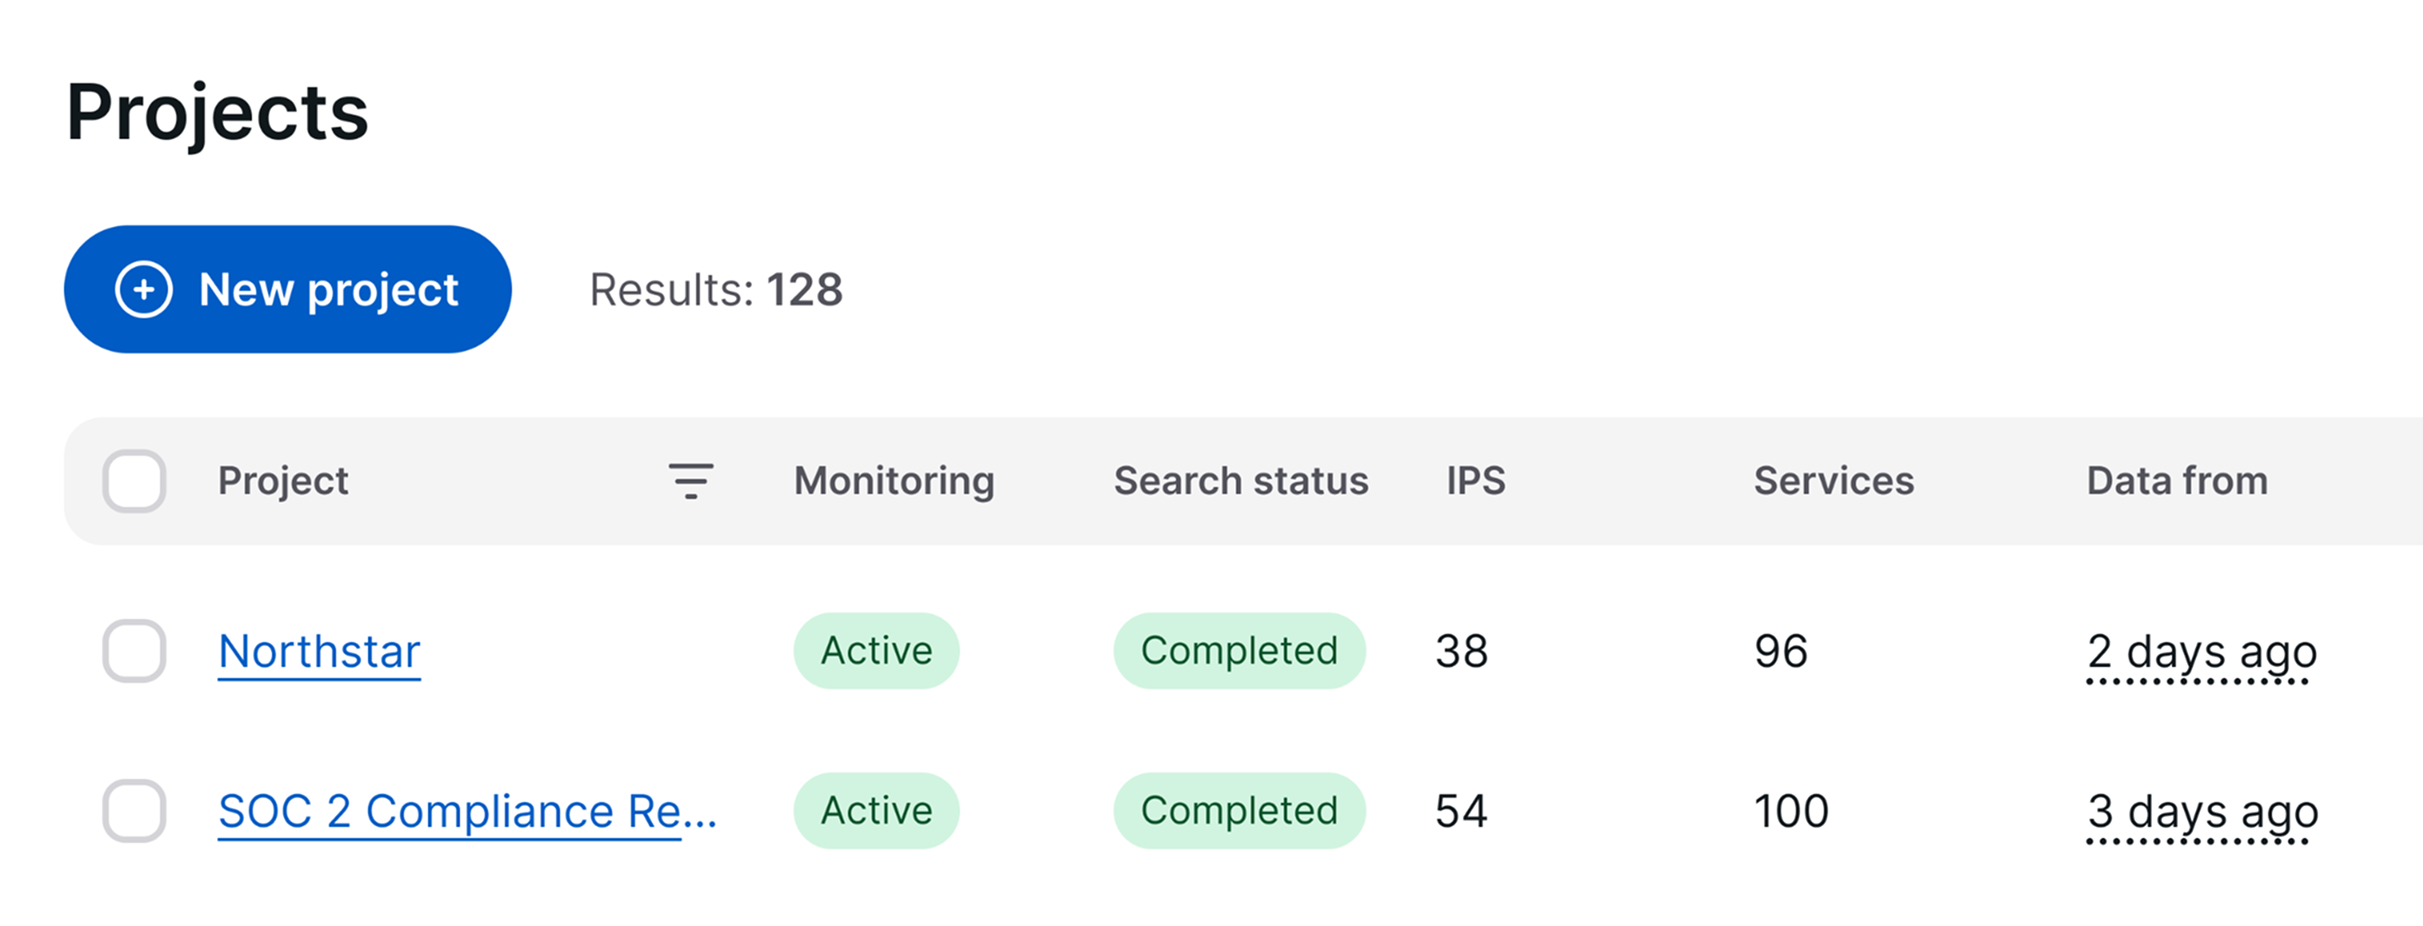 Figure 4: The Projects overview is the fastest way to confirm that monitoring is really enabled.
Audit your portfolio in one click
Use the funnel icon in the Monitoring column header and filter for Inactive. Every project in that result is an unmonitored blind spot — a useful recurring check once you manage more than a handful of projects.
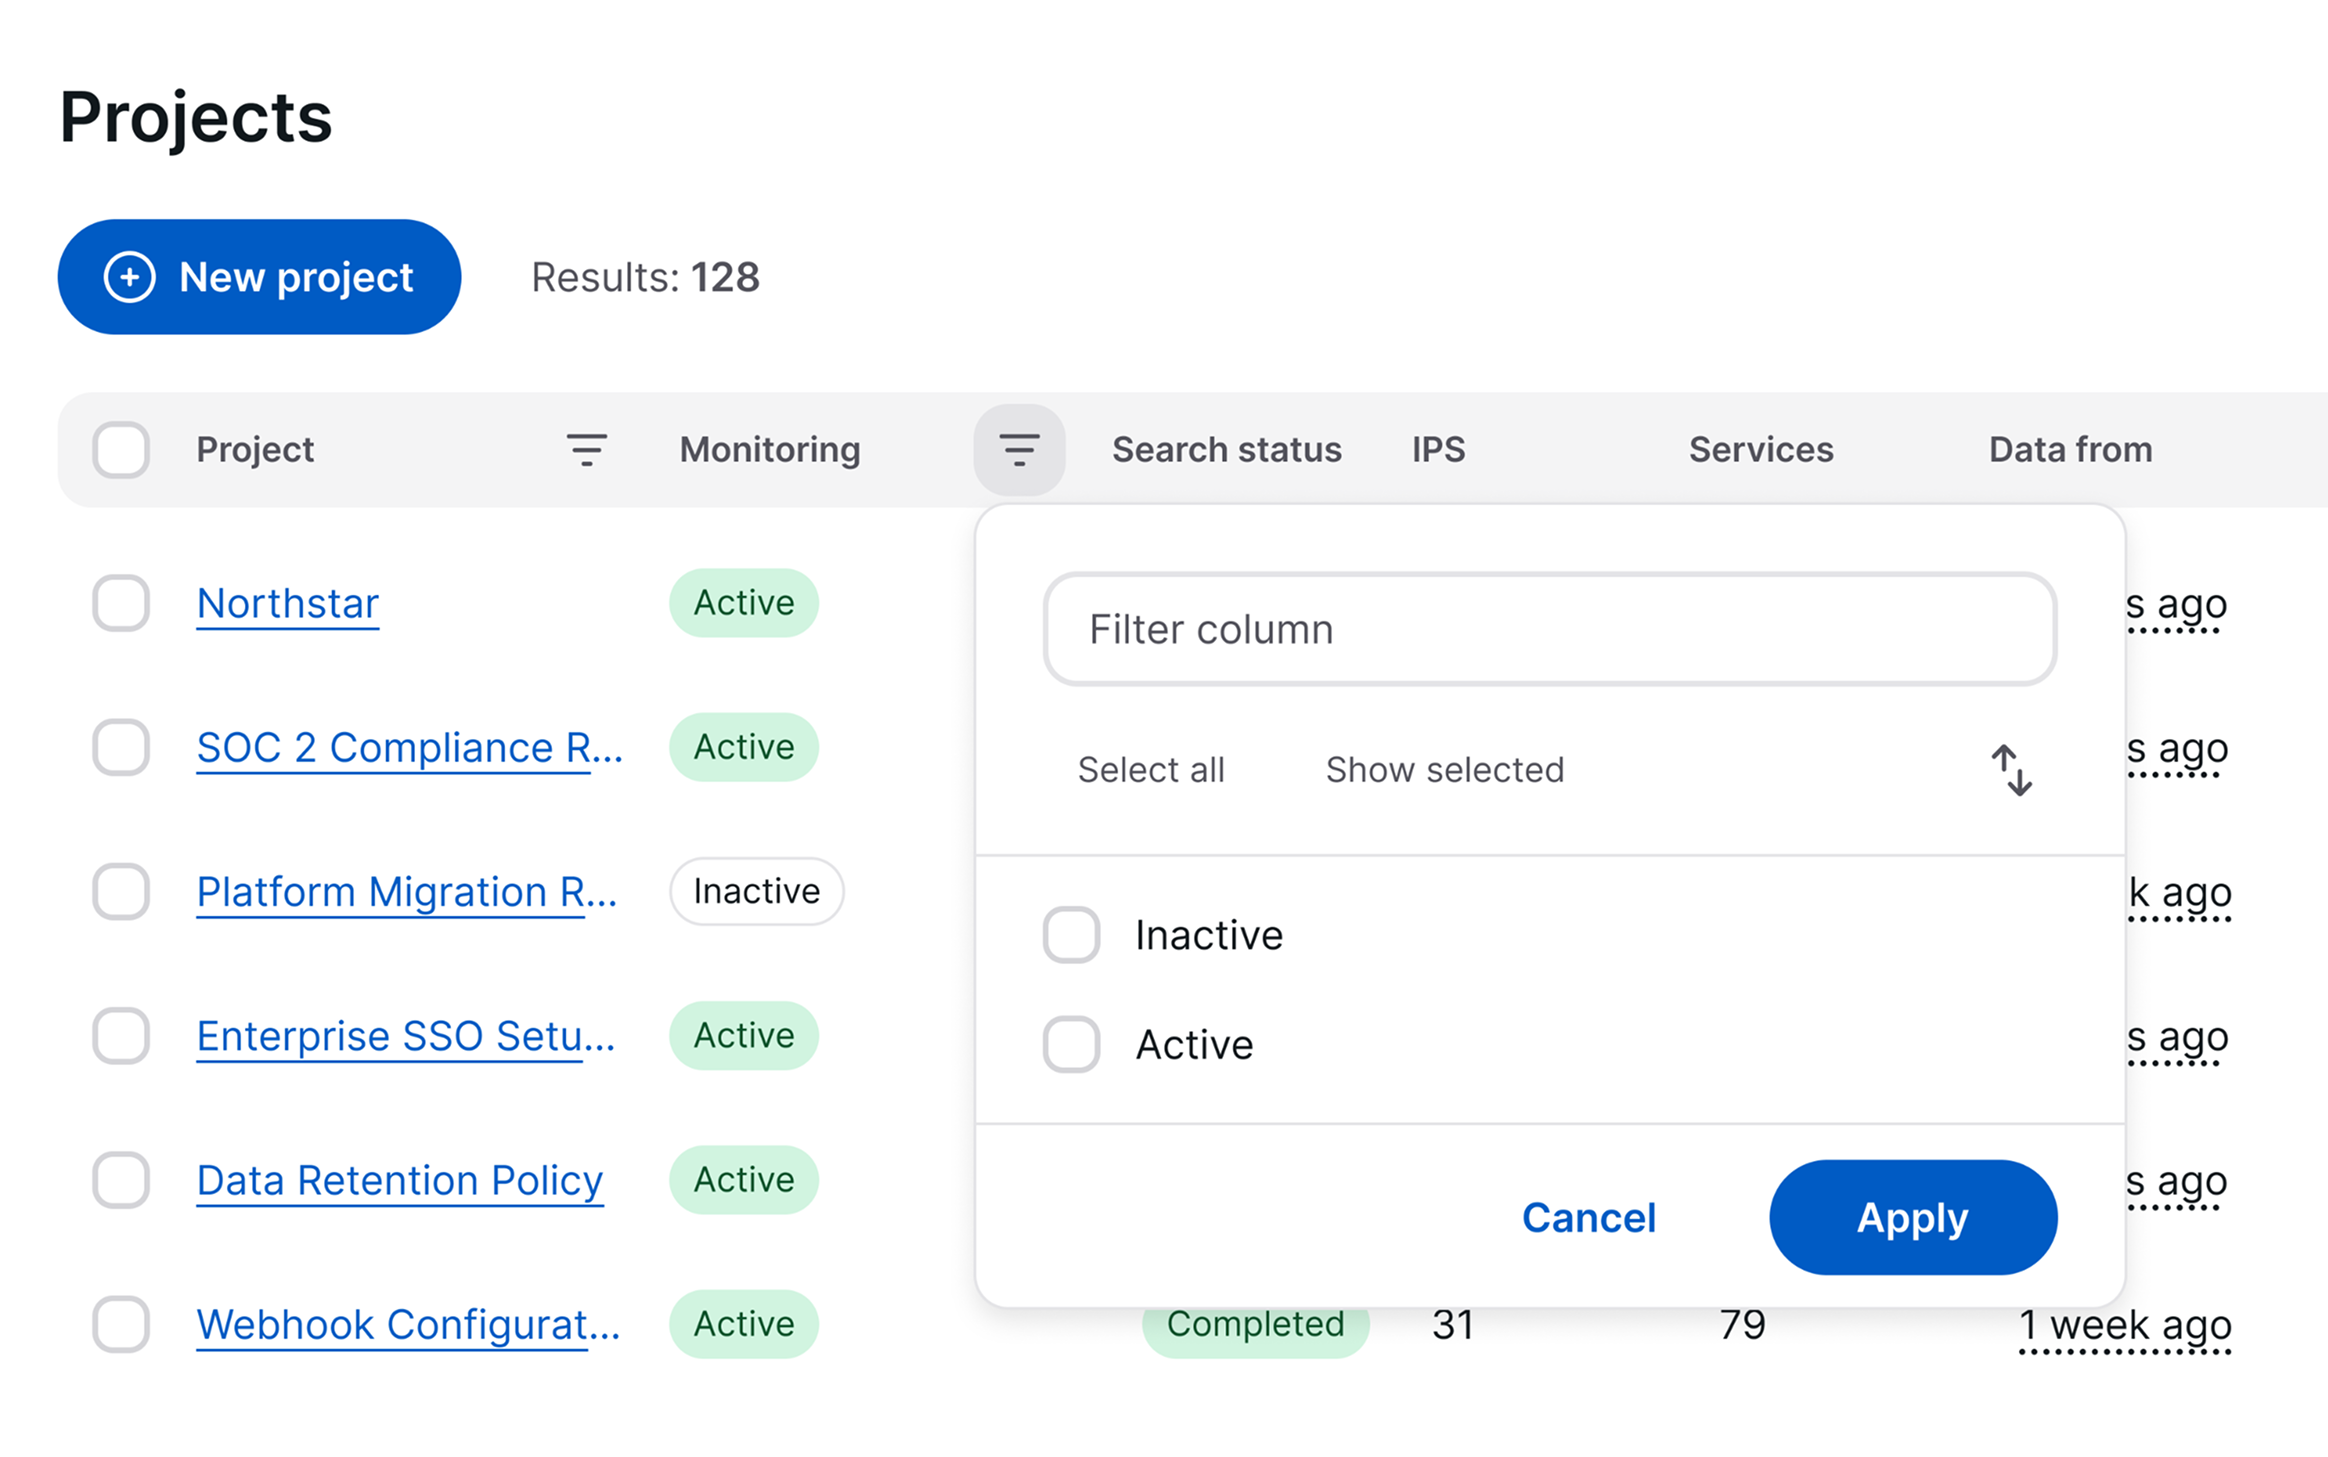 Figure 5: The column filter offers the values Active and Inactive.
Step 5: Review what each run will cover
Monitoring re-executes the current project scope. Before you rely on it, check the two tabs that define its content:
- Scope → Search terms — every domain, keyword and IP range that will be re-checked. Anything missing here will never appear in a monitoring report.
- Project settings → Options — the discovery behaviour applied to every run.
| Option | Effect on recurring runs |
|---|---|
| Subdomain enumeration from domains only | Limits enumeration to your listed domains |
| Use external active subdomain enumeration | Finds new subdomains via wordlists |
| Use external passive subdomain enumeration | Finds new subdomains via external databases |
| Take screenshots of HTTP(S) services | Gives you visual diffs of web front ends over time |
| Enable domain squatting on domains | Surfaces newly registered look-alike domains |
| E-mail security checks | Re-checks the mail protection of your domains, so that changes such as a new DMARC policy appear |
| Add keyword search results to assets | Skips the Discovery review step — increases false positives |
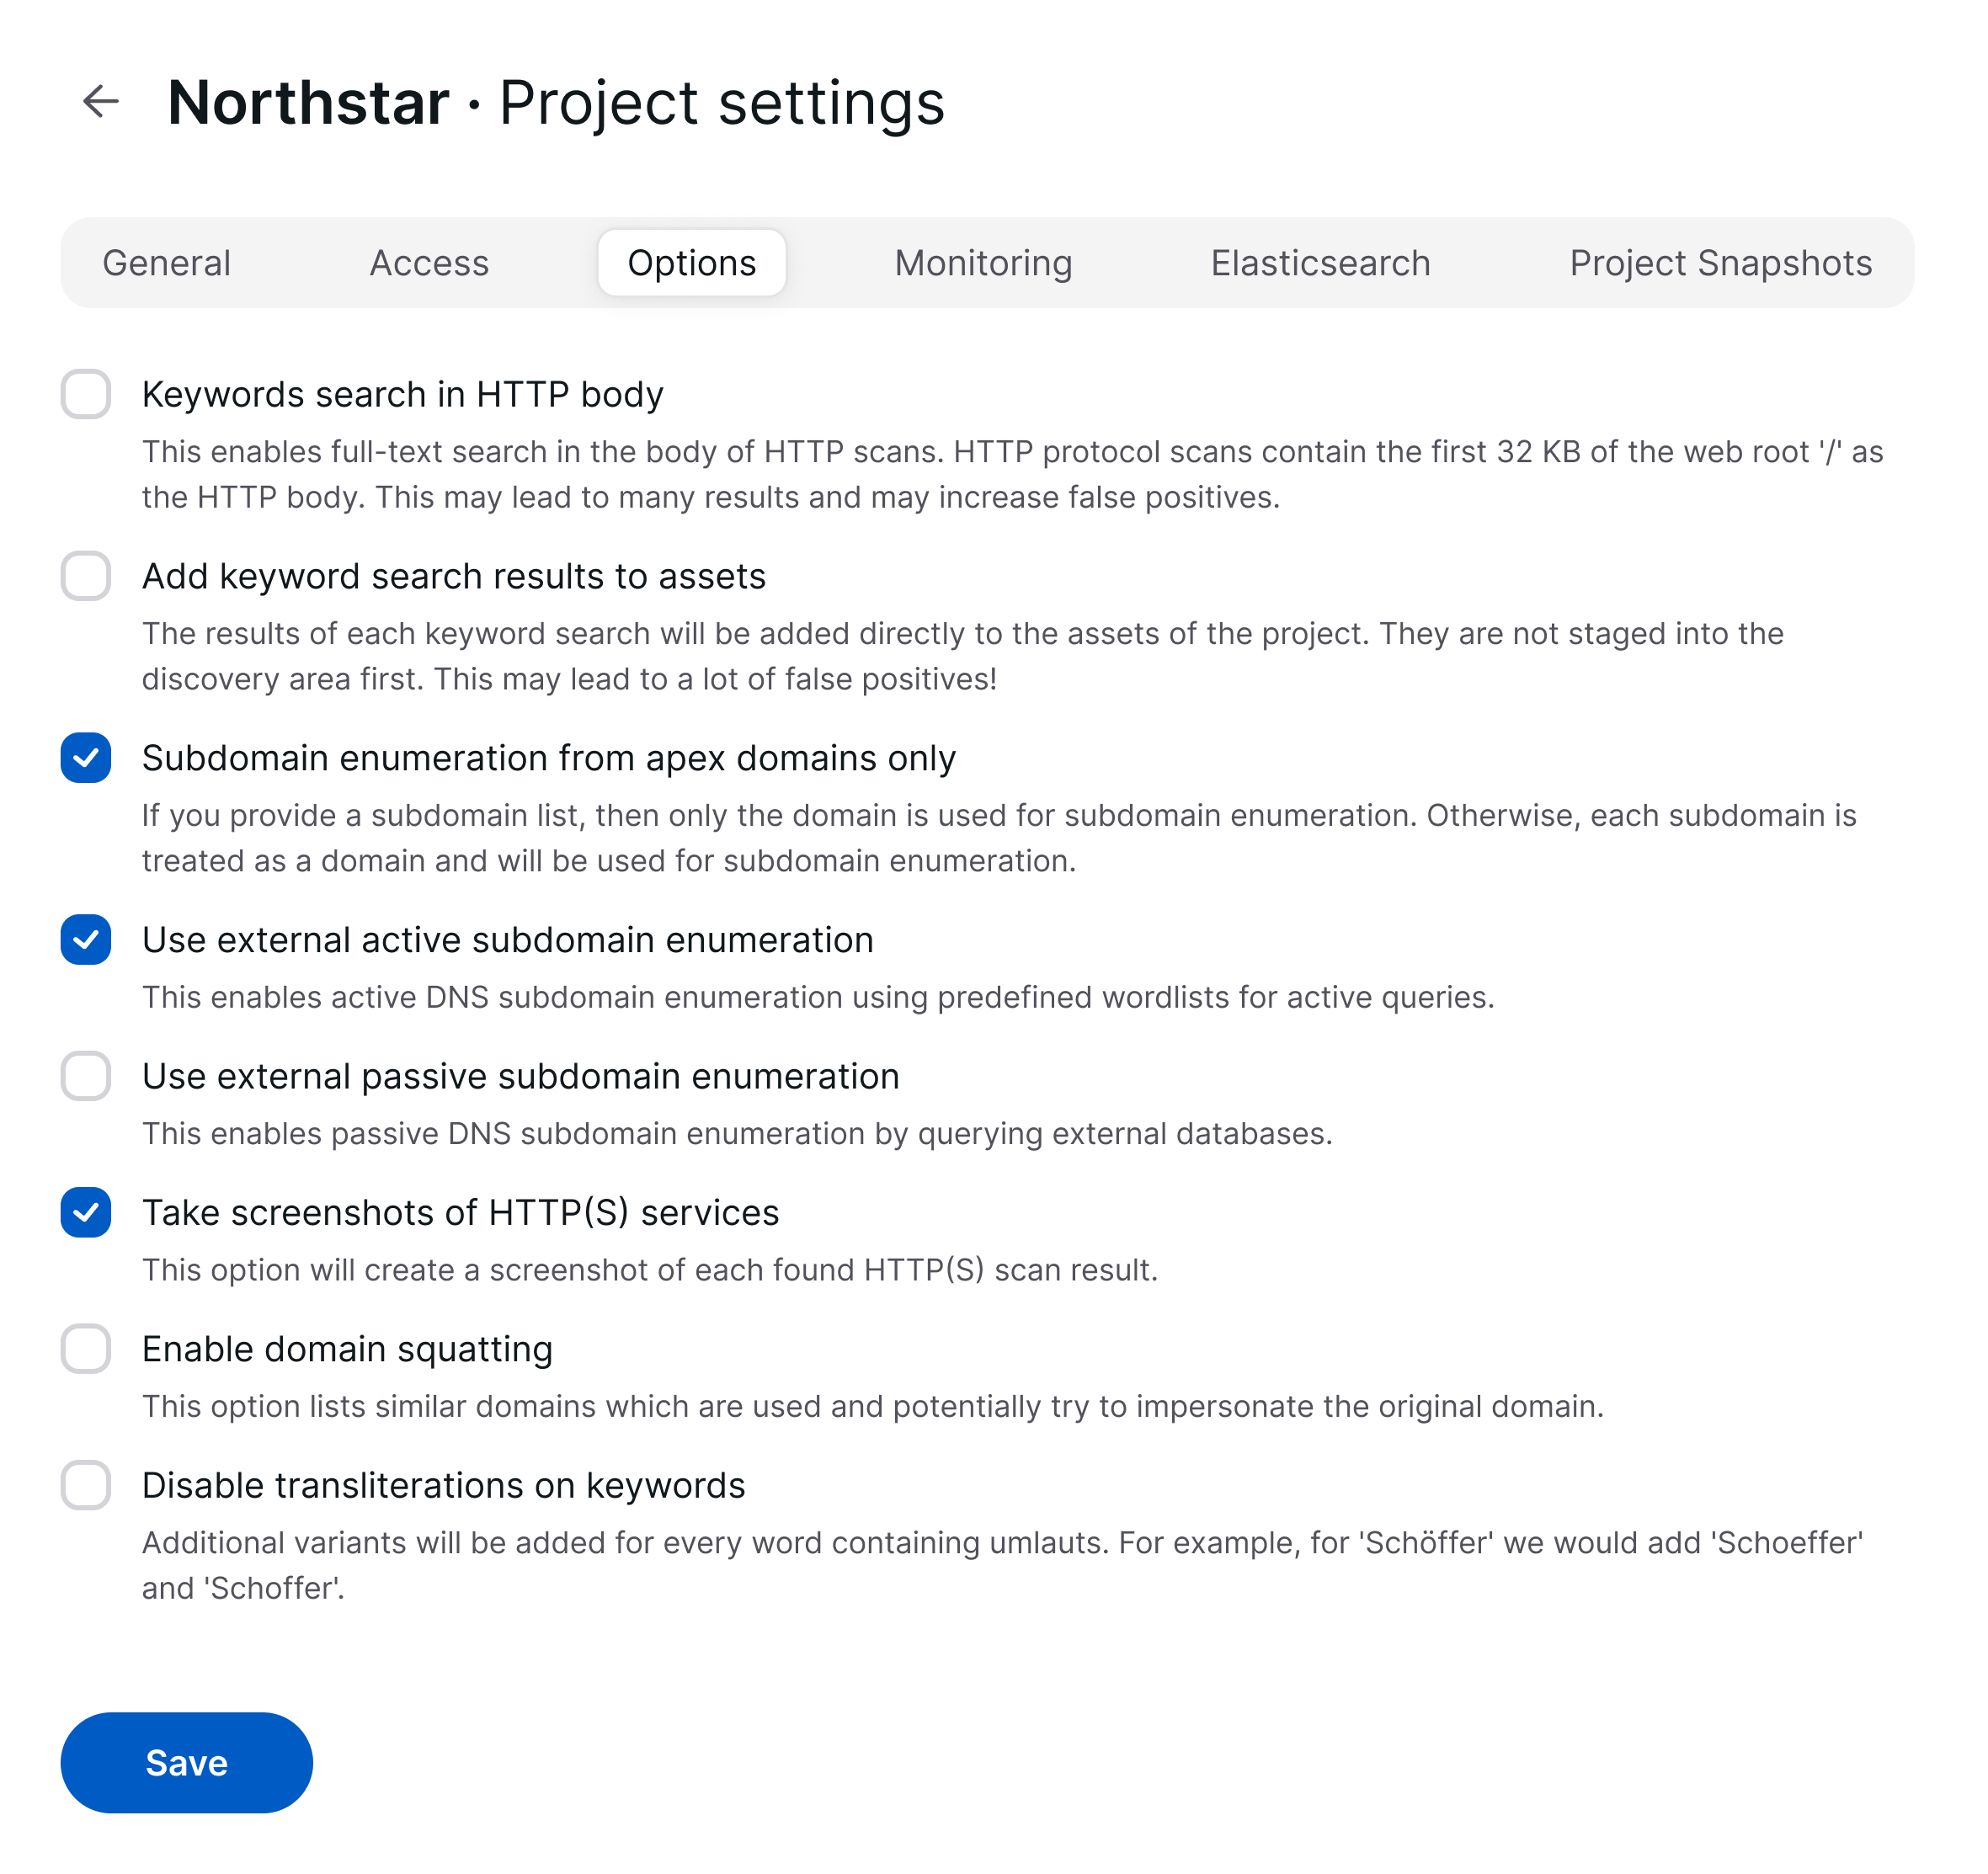 Figure 6: Options are evaluated on every monitoring run, not only on the first scan.
Keep the Discovery gate closed
Leave Add keyword search results to assets disabled. New hits then land in Discovery for review instead of silently inflating your asset inventory and your vulnerability counts.
Step 6: Track the runs
Select Search Jobs in the top navigation. Each run appears with Name, Status, Job type, Created on, Created by and Project, so you can confirm that scheduled scans actually execute and complete.
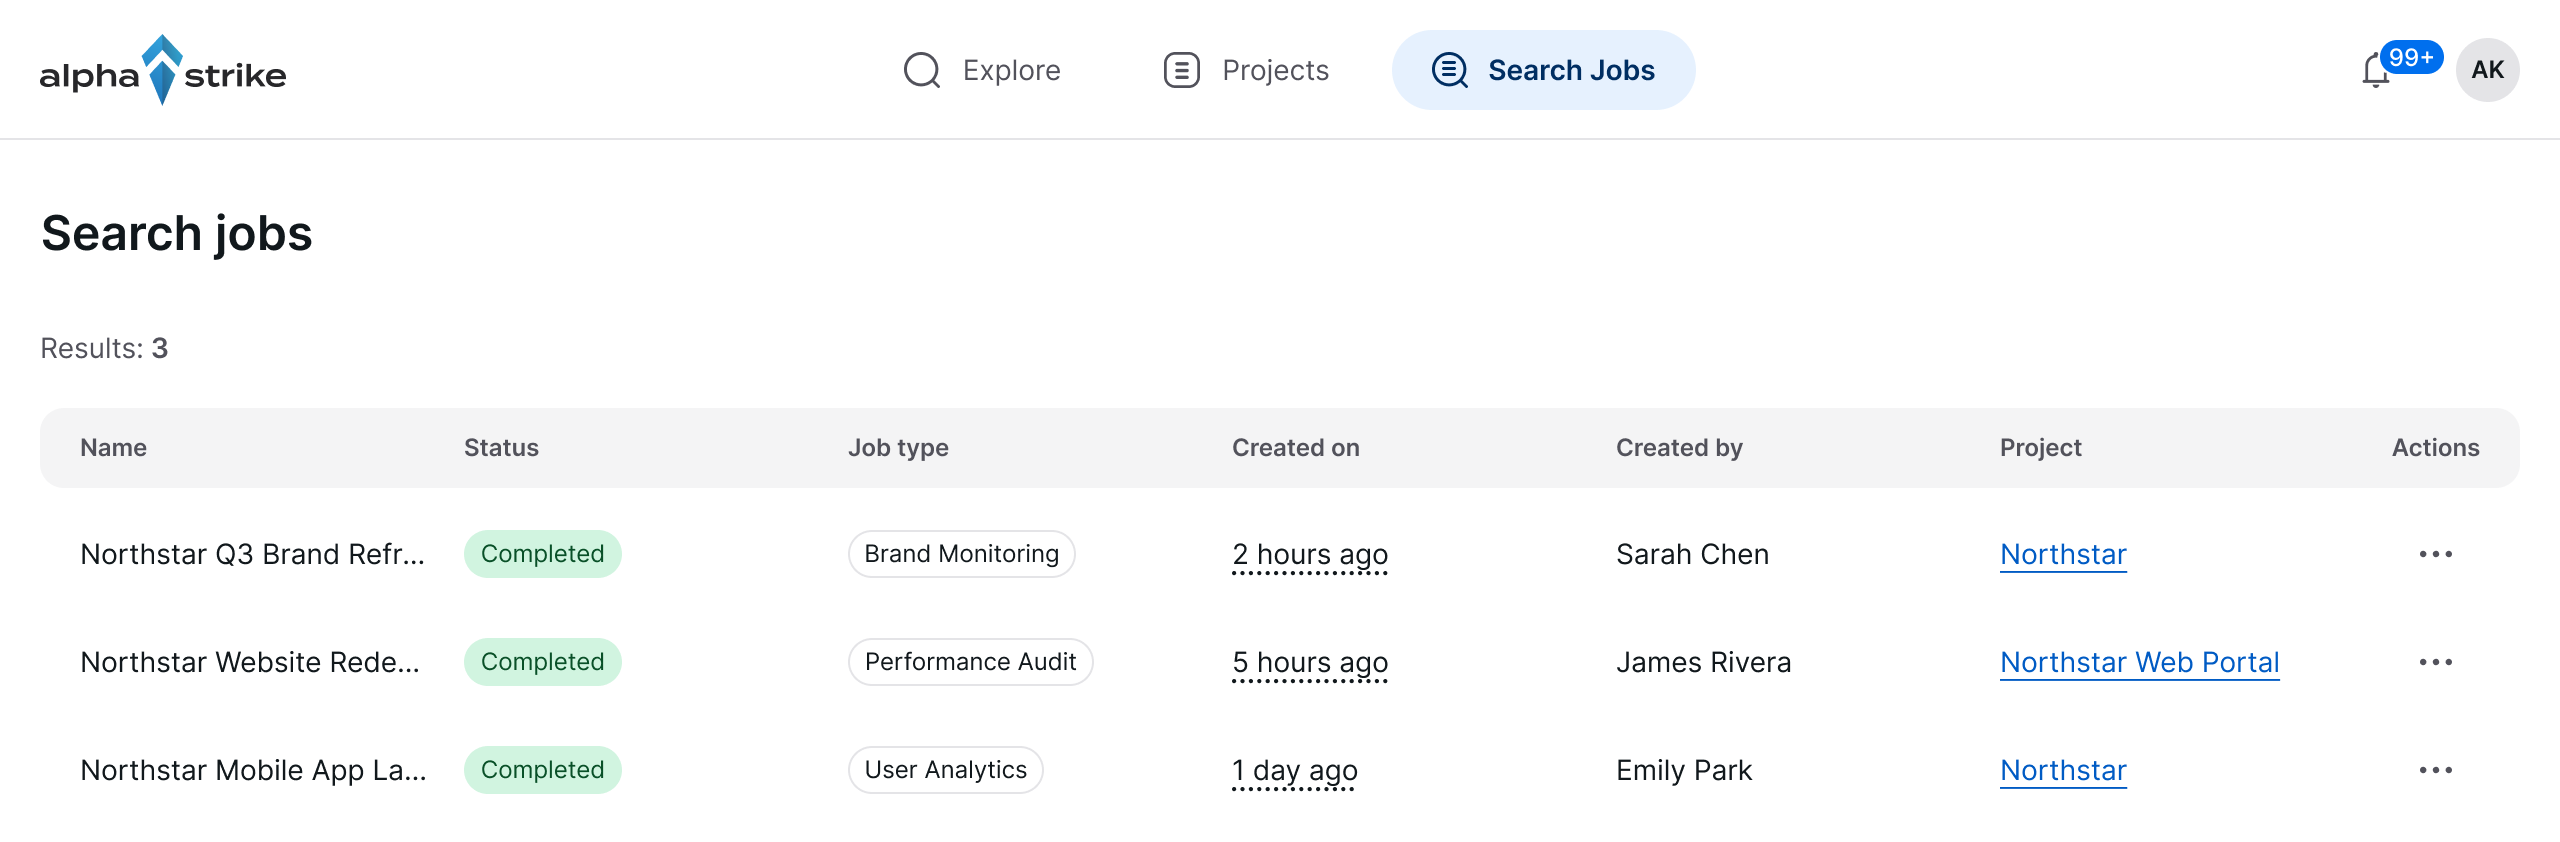 Figure 7: Search Jobs is the audit trail for scheduled and manual runs.
Step 7: Review what changed
The email is the trigger, the platform is the source of truth. After each notification, work through these four places:
| Where | What to look for |
|---|---|
Dashboard → 1 month / 2 months / 12 months |
Trend of findings per severity. Use the table icon for exact numbers. |
| Discovery | New candidate services, domains, certificates, Whois and AS entries. Accept or reject them. |
| Assets | Entries marked with a small blue dot are the ones you have not opened yet. |
| Darknet | Enable New entries only to see just the leaks published since your last review. |
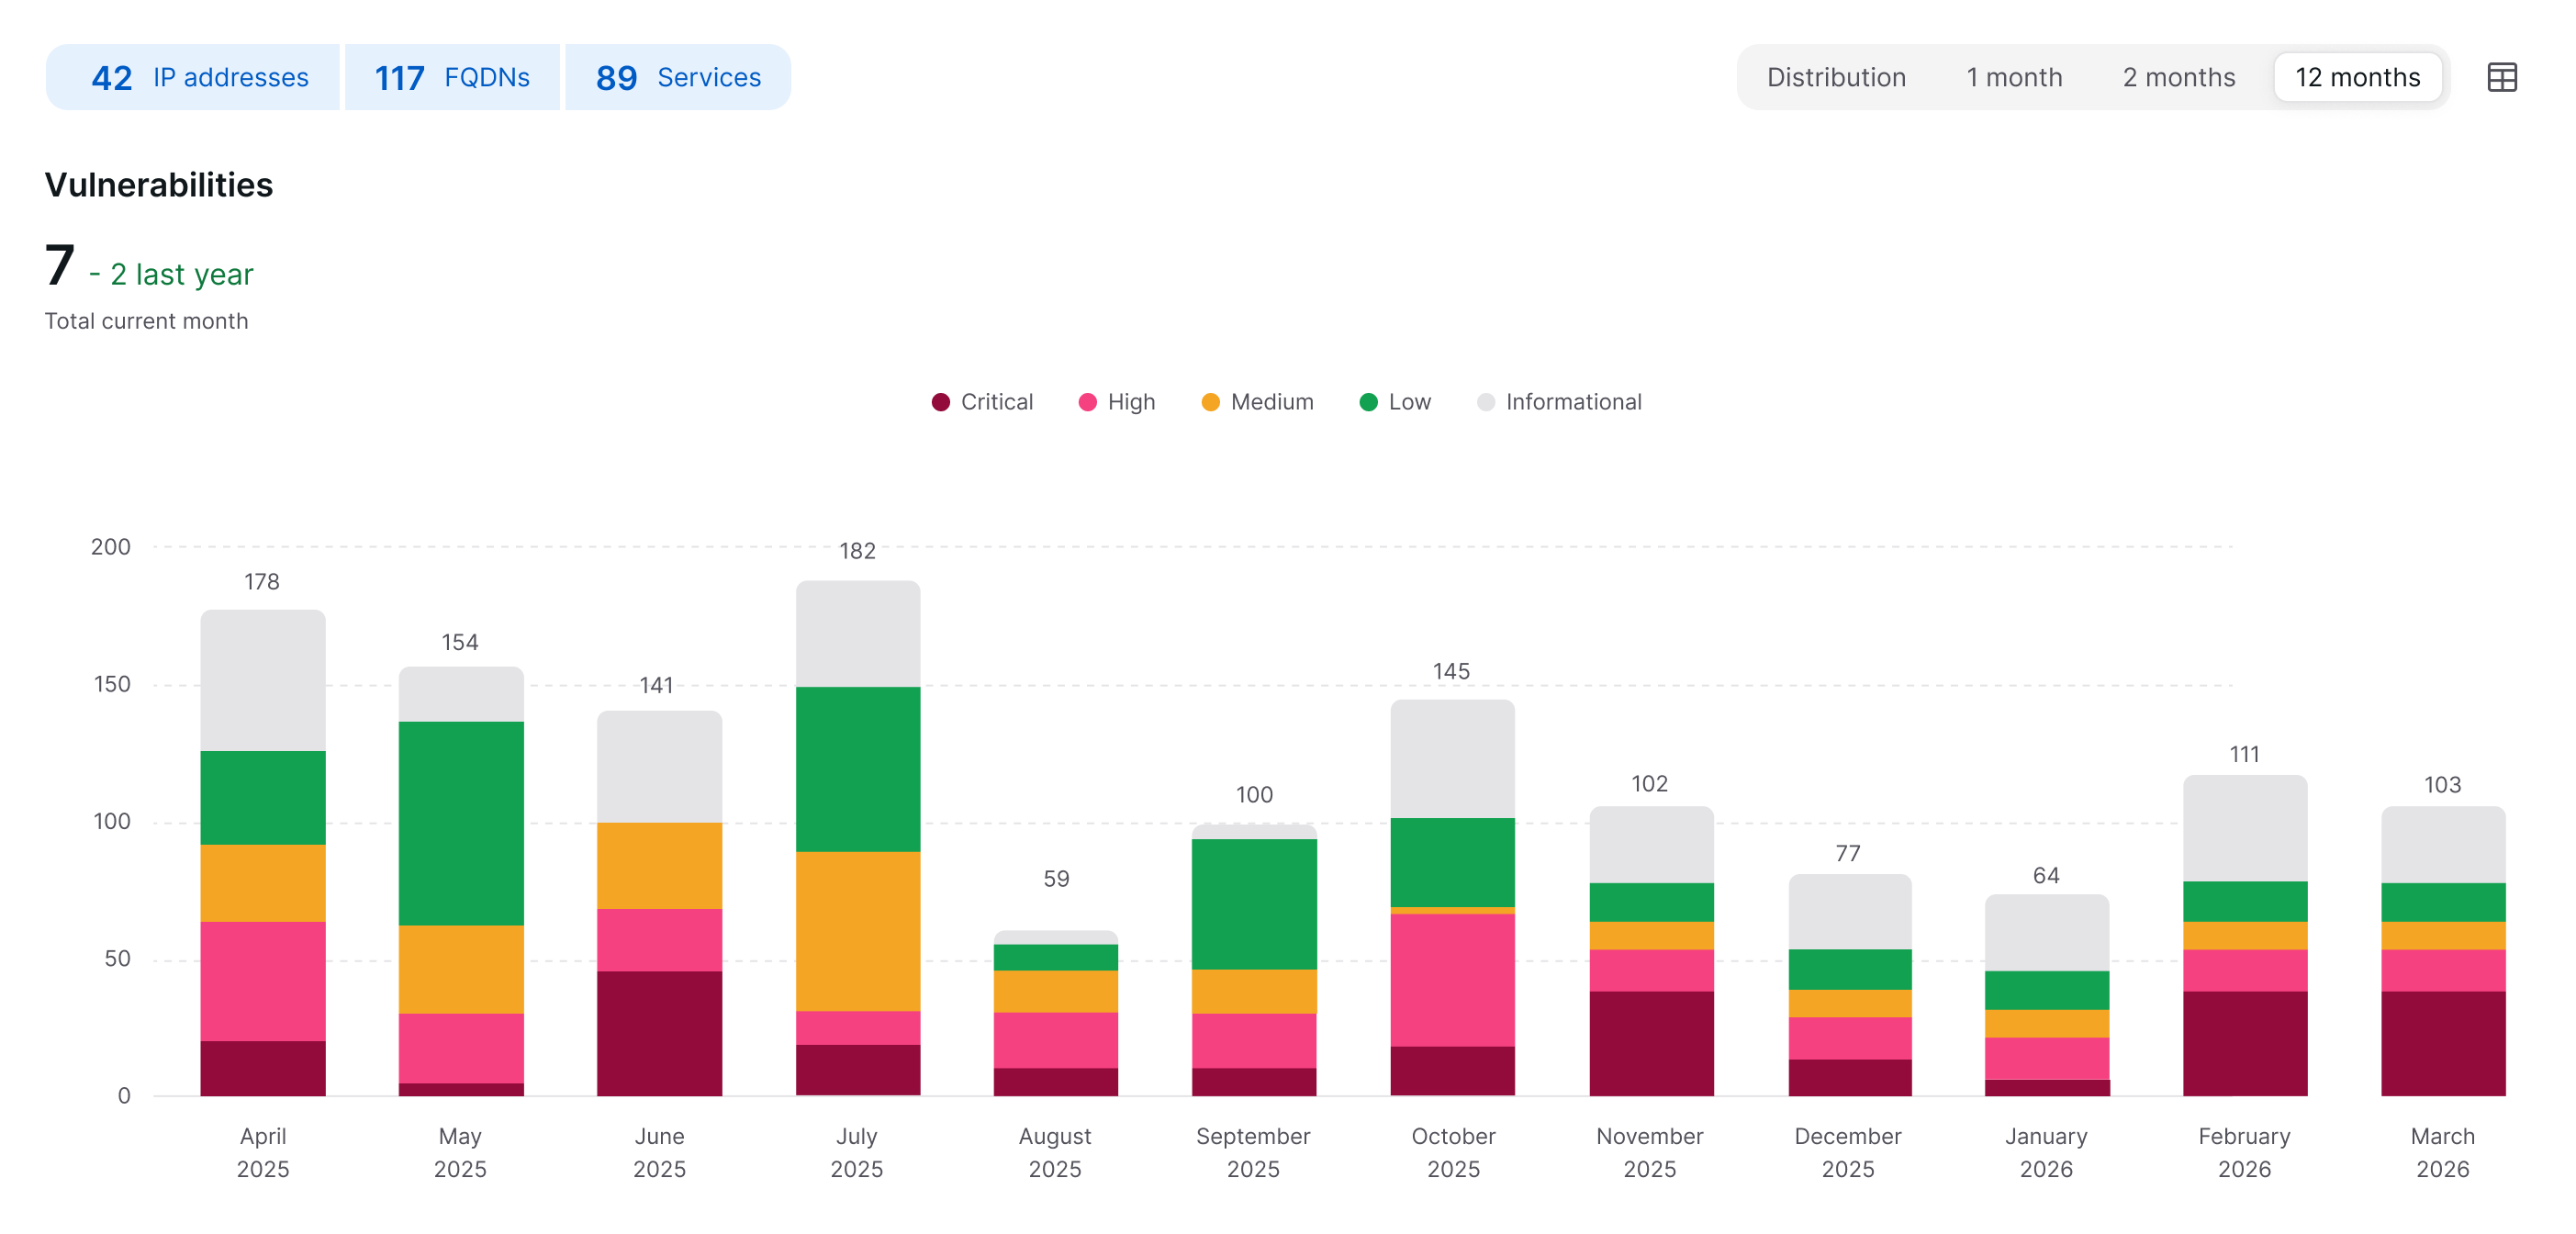 Figure 8: The trend views only become meaningful once monitoring has been running for a few cycles.
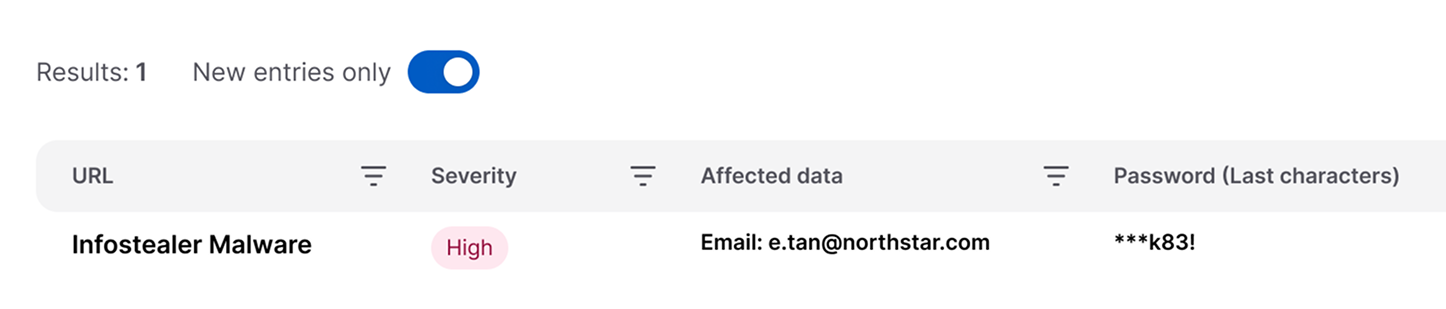 Figure 9: „New entries only" keeps the Darknet review down to the delta.
Give the report an owner and a cadence
Pair every monitoring interval with a review slot: weekly monitoring → a fixed 30-minute triage in the same week. Findings that survive triage should leave the platform as tickets in your normal remediation process.
Step 8: Pause or stop monitoring
Set the interval to Inactive and select Save. The project and all collected data remain untouched — only future scheduled runs stop. Use this for scopes that are being decommissioned or during contractually agreed freeze windows.
Recommended baseline
| Scope type | Interval | Recipient | Review cadence |
|---|---|---|---|
| Core internet perimeter | Daily | SOC queue | Daily triage |
| Corporate attack surface | Weekly | Security team list | Weekly, fixed slot |
| Subsidiaries, brands | Weekly | Local IT + central list | Bi-weekly |
| Archived / frozen scope | Inactive | — | On request |
Result
Your project is re-scanned automatically, the configured mailbox receives updates, the Projects overview shows Monitoring: Active, and every run is traceable in Search Jobs. New exposure now reaches you instead of waiting to be discovered.
Next Step
- Repeat the configuration for every project in your portfolio and use the Monitoring column filter to confirm none is left on Inactive.